How to plan a successful document imaging project – part 3
We are now at week three of a four-part blog series on how to create a plan for your document imaging project. In parts one and two of our series, we covered the following key sections of a best-practice document imaging plan:
- Overview and Objectives ✔
- Current Situation ✔
- Resource Plan ✔
- Project Design ✔
- Scanning Design
- Post-scan Document Processing
- Change Management
- Project Review
- Budget
In this week’s post, we take a look at planning the scanning process and the post-scanning process.
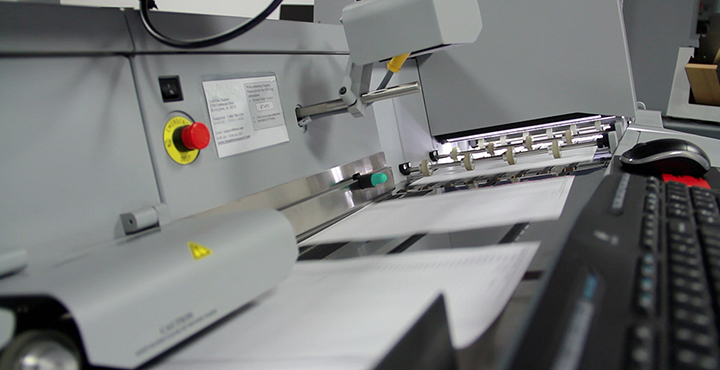
Scanning Design
This section is where you get into the nuts and bolts of how the actual scanning process will unfold. There are several key stages to address:
- Document preparation: Here you lay out exactly what is required to prep the documents for scanning. (For example, removal of staples and separators.) You should have a clear idea of the state of the files from the audit you conducted earlier.
- Scanning: Here, you will specify the actual scanning process. Will pages need to be sorted and stacked so that multiple documents can be fed into the machine at once? Will you use separator sheets?
- Quality assurance: There are many ways to assess the quality and accuracy of scanned images. The method you choose should reflect your business requirements, the nature of the documents being scanned and the resources available to carry out the quality checks. Some of the ways you can check for quality include: random reviews of a portion of documents (for example, one page in every 100 gets a full review), and also by running a comparison of pages fed vs. images captured.
- Release / import: This is the process of putting the imaged documents into the electronic repository. This process will be different depending whether you are working with a records management and storage system (such as TAB FusionRMS), or a shared drive.
- Indexing and metadata: This is the process of making documents identifiable and searchable within the records management system – assuming you are using one. Both elements are critical for ensuring that documents are available for use in current business processes.
- Optical character recognition: OCR is an optional step that allows users to search for documents based on a keyword match within the body of the document. This could be a very important step depending on how users will need to access documents.
Post-scan Document Processing
It is important to have a clear plan for what will happen to documents after the scanning portion is complete. Depending on the project, the particular collection, or even the particular document, you may be looking at one or more of the following steps once the scanning is complete. Be sure to outline exactly what is required for all items in the collection.
- File-reassembly: How should documents and files be put back together once they have been scanned?
- Re-filing: Once reassembled, which documents should be returned to their original locations?
- Re-location: Will some of the files be moved to a new location, either within your facility or offsite?
- Disposition: Depending what you learned about your retention requirements, you may be required to keep some paper documents to act as the official records. However, in many cases, our clients are able to safely destroy paper documents after the scan because the digital version can act as the official record. Be sure to consult the legislation applicable to your industry.
In next week’s post – our final installment in the series – we show you how to complete the change management, budgeting, and project review sections. Read it here »
Next Steps